Looking for your next big home improvement project? If you’re a fan of DIY projects, you know that sometimes it can be hard to come up with a project idea. Try these DIY home improvements and repairs to scratch the DIY itch and create something you can use for years and years to come.
Get Cookin’!
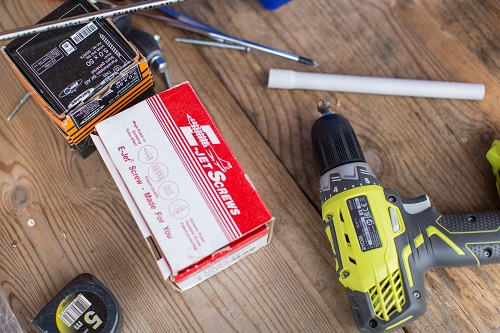
If you’re the chef in the family, perhaps the kitchen could use an upgrade. Make the food prep area more efficient and functional with rollouts to organize cabinet storage. Rollouts make wasted space accessible, which equates to an upgrade which is easy, inexpensive and satisfying. You install them by attaching to the existing shelving, simply mounting each rollout with four screws. Measure carefully, accounting for door space and hinges. Using a well-made drill makes this DIY project easy-peasy. Another idea is to install a cutting board in the wasted area under the sink. Simply cut a slot a half inch wider than the basin. Then trim a piece of butcher block to size with a jigsaw. Add a lip to the underside of the slot to support the board.
From Junk to Gym
Do you have a junk room that is getting out of hand? Consider transforming it into a yoga studio! Renovating a junk room is a project that can be as elaborate or as simple as you want. You can clear out the clutter, add a mirror and hang a television screen for your favorite instructional videos. Head to the local flea market for a few interesting trunks or chests to stow your equipment and yoga mat. For a more elaborate DIY project, you can gut the space, paint the walls, install fresh carpeting and lighting, and add custom cabinets for storage. When selecting colors for the new workout space, Yoga Journal recommends tranquil hues. Top it all off with the necessary equipment, candles in soothing scents and lightweight window coverings that allow in natural light but provide adequate privacy.
Go Outside and Play
Looking for a bigger endeavor that exercises more of your handyman skills? Consider sprucing up the backyard by installing a flagstone patio for the ultimate relaxation experience.
Before beginning construction, contact local utilities providers to ensure you won’t tap into any lines. Create a design and select your materials, opting for flagstone at least 2 inches thick so it stands up to wear and tear. Flagstone can be set in a sand base, but using mortar will keep the patio maintenance-free for years. Opting for the latter requires a slab base, whereas with a sand base the materials go directly into excavated ground.
For a sand base, you’ll need to remove at least 8 inches down to facilitate proper drainage. Then add a base of crushed limestone or gravel and compact it to 4 inches deep. Add 2 inches of sand for drainage, edge your patio, and lay your stones. Fill gaps between stones with sand and brush clean.
For a mortar setting, you’ll want to work in 3-foot sections, laying out stones over the slab and troweling a mortar base as you go. You’ll need to ensure stones are level and reset any that are not. Clean off excess mortar throughout the process, since waiting until the end will mean it sets up and can’t be removed easily. Allow stones to set for a few days before mortaring joints.
DIY’s Make a Difference!
Doing a DIY project not only puts your skills to good use, but provides you and those you love with a gift that keeps on giving. Whether you opt for a simple task or something more challenging, knowing you went the extra mile and created something yourself will feel great. Choose a project that really packs a punch.
Author: Erin Reynolds of diymama.net | erin@diymama.net